The Fluffiest Cinnamon Rolls Ever

If you know me, you know just how much I LOVE cinnamon rolls. The fluffy roll stuffed with the rich buttery sugar and cinnamon center is perhaps the most beautiful combination of flavors in bakes for me. I actually prefer my rolls without any glaze (caramel is perhaps the ONLY exception). I’ve tried working with a sugar glaze, cream cheese frosting, chocolate sauce, buttercream, and even whipped cream. But, nothing works. I just really love my cinnamon rolls plain with nothing on top.
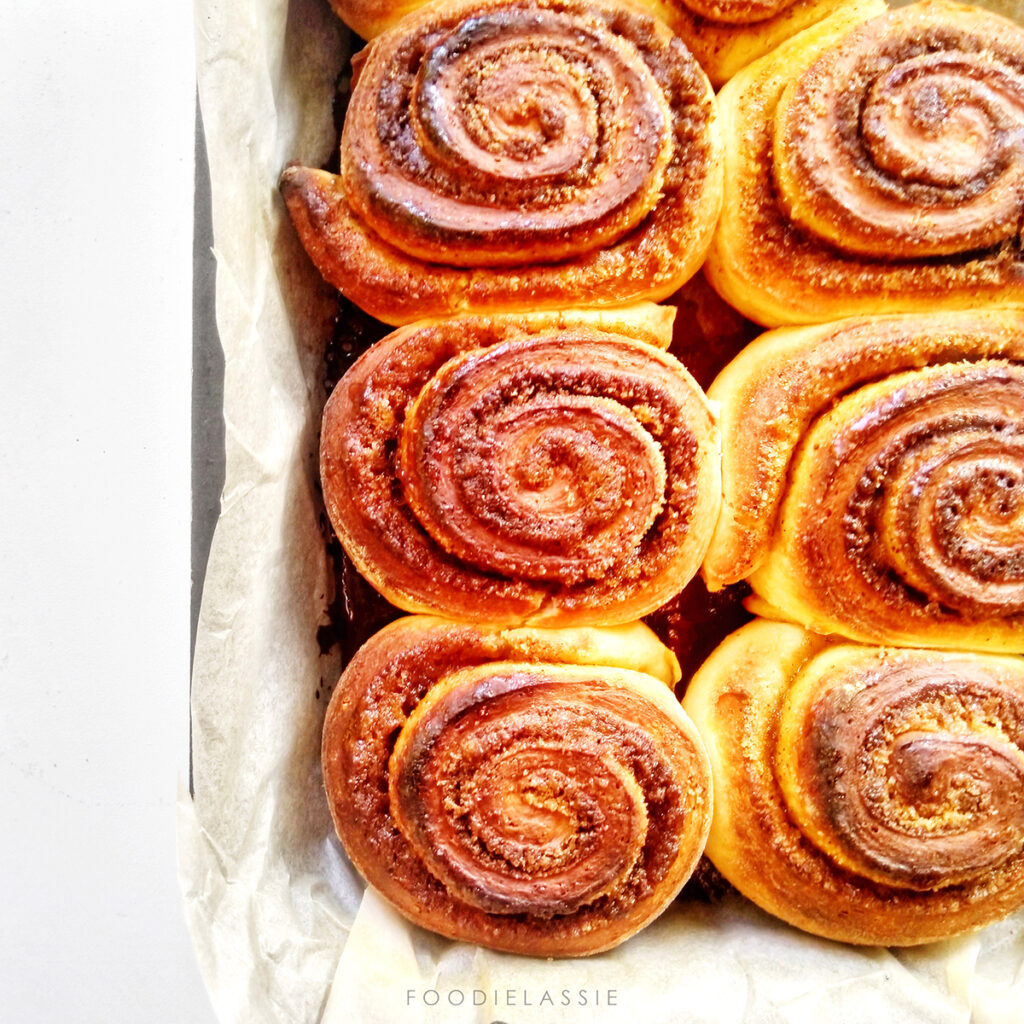
cinnamon rolls

For those of you know me, you’d also know how I do not like drinking milk. Plain milk is really hard for me to consume. I do make an exception for milkshakes, and a few desserts. But anything with milk in its most natural form in it is not my cup of tea. I especially dislike it in coffee. I will always take my coffee black. Back to our cinnamon rolls, the magic of a good batch of rolls is that I will enjoy them best with a glass of plain cold milk. That is the only exception to unabashedly chugging down milk.

I tried quite a few recipes to get the perfect fluffy dough for these rolls. However, more than just the recipe, I discovered that the dough needs to proof properly, multiple times, during the prep process. Making these cinnamon rolls is a labor of love that does take its sweet time, but oh is it so so worth it.
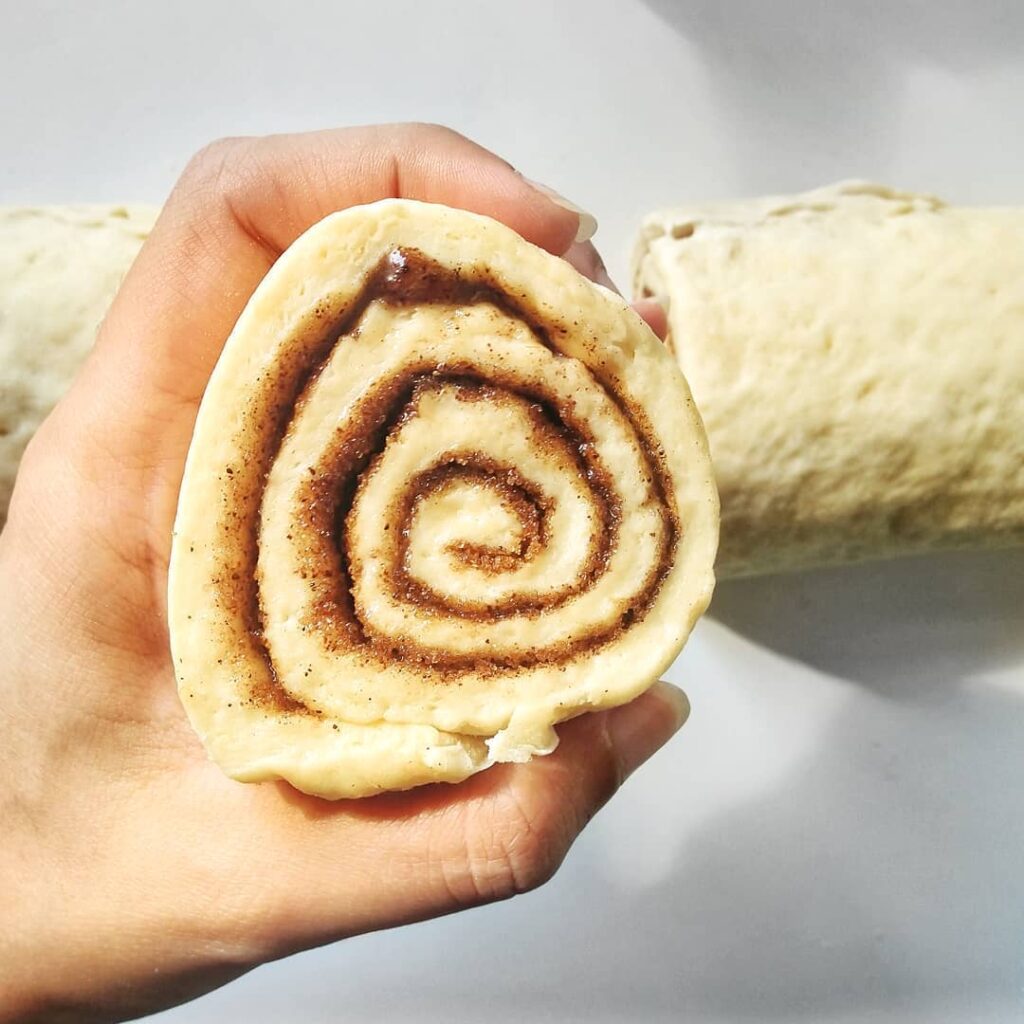
cinammon rolls

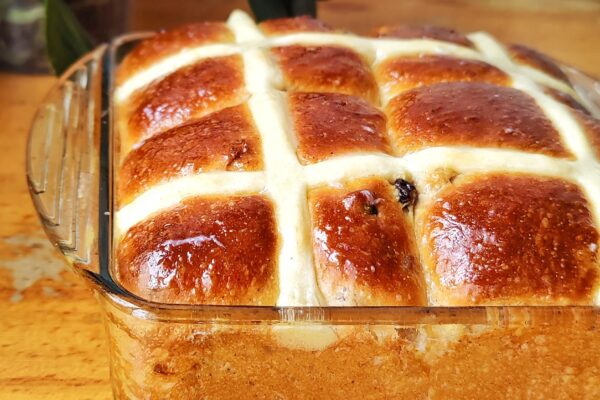
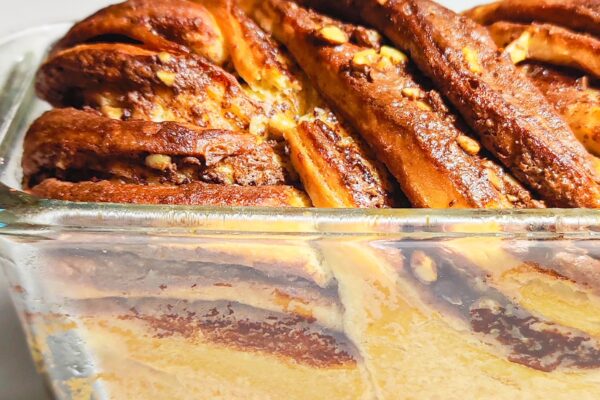
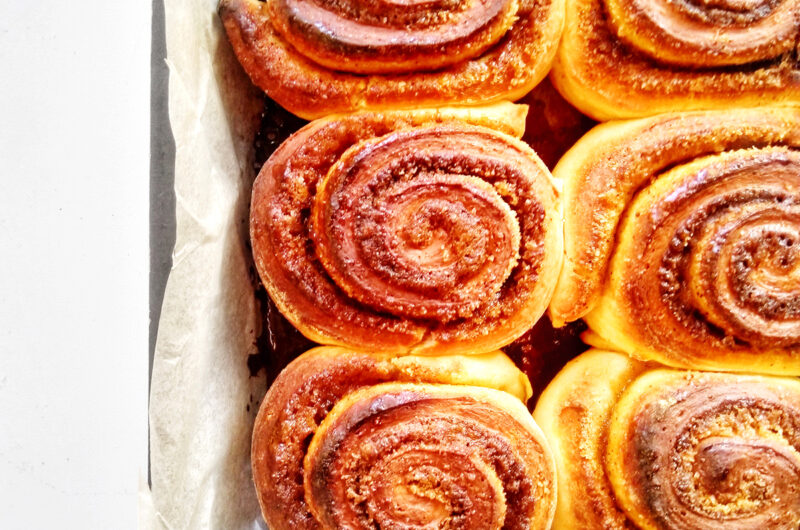
After kneading the dough and leaving it to rise, you can start working on preparing the rolls. However, it is crucial to let the rolls proof once more after slicing them. One of my favorite things to do is place them in my baking tray with plenty of space around. Then I cover them and set them aside for about 20-30 minutes in a warm place. Once they’ve proofed, they fill up all the gaps creating a beautiful even layer.
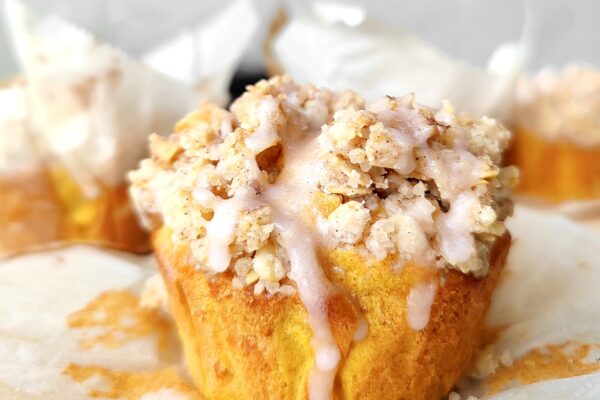
The Fluffiest Cinnamon Rolls Ever

Recipe by foodielassie
0.0 from 0 votes
Course: DessertDifficulty: Medium
Rolls

8-12

Prep time

30

minutes
Baking time

30

minutes
Proofing time

1.5

hours

The fluffiest most decadent cinnamon rolls you can have – right from your own kitchen.

Cook Mode

Keep your device screen on

Ingredients

  • For the dough
  • 4 1/2 cups flour

  • 1/2 cup white granulated sugar

  • 5 tbsp butter

  • a pinch of salt

  • 2 1/2 tsp yeast powder

  • 1/2 cup milk

  • 1 egg

  • 1/2 cup water (use as required)

  • For the filling
  • 3-4 tbsp melted butter

  • 2 cups brown sugar

  • 2 tbsp cinnamon powder

  • a pinch of nutmeg (optional)

Directions

  • In a bowl, add your flour, sugar, salt, and butter. Mix well.
  • In a cup, add your milk and yeast. You can warm the milk slightly over a flame or zap in the microwave for a few seconds. I like to pop it in the microwave for about 20-30 seconds first and then add in the yeast. Stir well and set aside.
  • Next, crack the egg in a separate bowl and beat well. The yeast will slowly start bubbling while you prepare the egg.
  • Add the egg as well as the milk and yeast mixture to your dry ingredients. Start kneading the dough.
  • Add in your water as desired. I usually find that half a cup of water is the exact amount needed to form the perfect dough. However, you might need a little lesser or a little more. Incorporate the water slowly and make sure not to get the dough too wet.
  • Once your dough comes together nicely, place it in a wide bowl so it has enough room to rise. Cover the bowl with a damp cloth and place it in a warm place (a sunny spot works beautifully on most days) for at least an hour.
  • After your dough has risen (at least doubled in size), it’s time to start rolling it out. Aim for a nice rectangular shape and stop rolling when the dough is about an inch thick.
  • Now for your filling. Combine the brown sugar, cinnamon, and nutmeg in a bowl.
  • Over your rolled out dough, generously brush the melted butter. While some people suggest mixing the butter with the dry ingredients to form a paste, I find that spreading a pasty filling over the dough is much harder.
  • Once you’ve buttered the surface of your dough. sprinkle the sugar and spice mixture over it to form a nice even layer.
  • Start rolling. Try to make them as tight as possible without misshaping them. Seal the edge by brushing it with some milk/water.
  • Cut the dough into discs of two-inch thickness and place in a baking dish/tray. Make sure to leave some space between them to allow them to rise and expand. You can use floss or just a sharp knife to get perfect slices. I always use a knife and the trick is to be very gentle and apply the least amount of pressure while cutting in a sawing fashion.
  • Cover once more and let them rise again for 20-30 minutes in a warm place.
  • While the rolls proof, preheat your oven at 170°C.
  • Once the rolls have proofed, brush the top with milk and pop them in the oven.
  • Bake for for 20-25 minutes.
  • Serve warm with chocolate sauce, sugar glaze or cream cheese frosting. Or if you prefer them plain like I do, then just a glass of milk will do.

Notes

  • You can add nuts, chocolate chips, or even dried fruit chunks in the filling if you want to experiment with fresh new flavors.

Did you make this recipe?

Tag @foodielassie on Instagram and hashtag it with #foodielassierecipe

Copyright © 2024 Foodie Lassie | Cookie Policy

Privacy Settings
We use cookies to enhance your experience while using our website. If you are using our Services via a browser you can restrict, block or remove cookies through your web browser settings. We also use content and scripts from third parties that may use tracking technologies. You can selectively provide your consent below to allow such third party embeds. For complete information about the cookies we use, data we collect and how we process them, please check our Privacy Policy