There’s something incredibly satisfying about making pumpkin puree from scratch. Sure, the canned stuff is convenient, but homemade pumpkin puree? It’s fresher, more flavorful, and free of preservatives—and you can taste the difference! Plus, it’s surprisingly easy to whip up and makes a fantastic base for everything from classic pumpkin pie to cozy fall soups and even your morning pancakes.
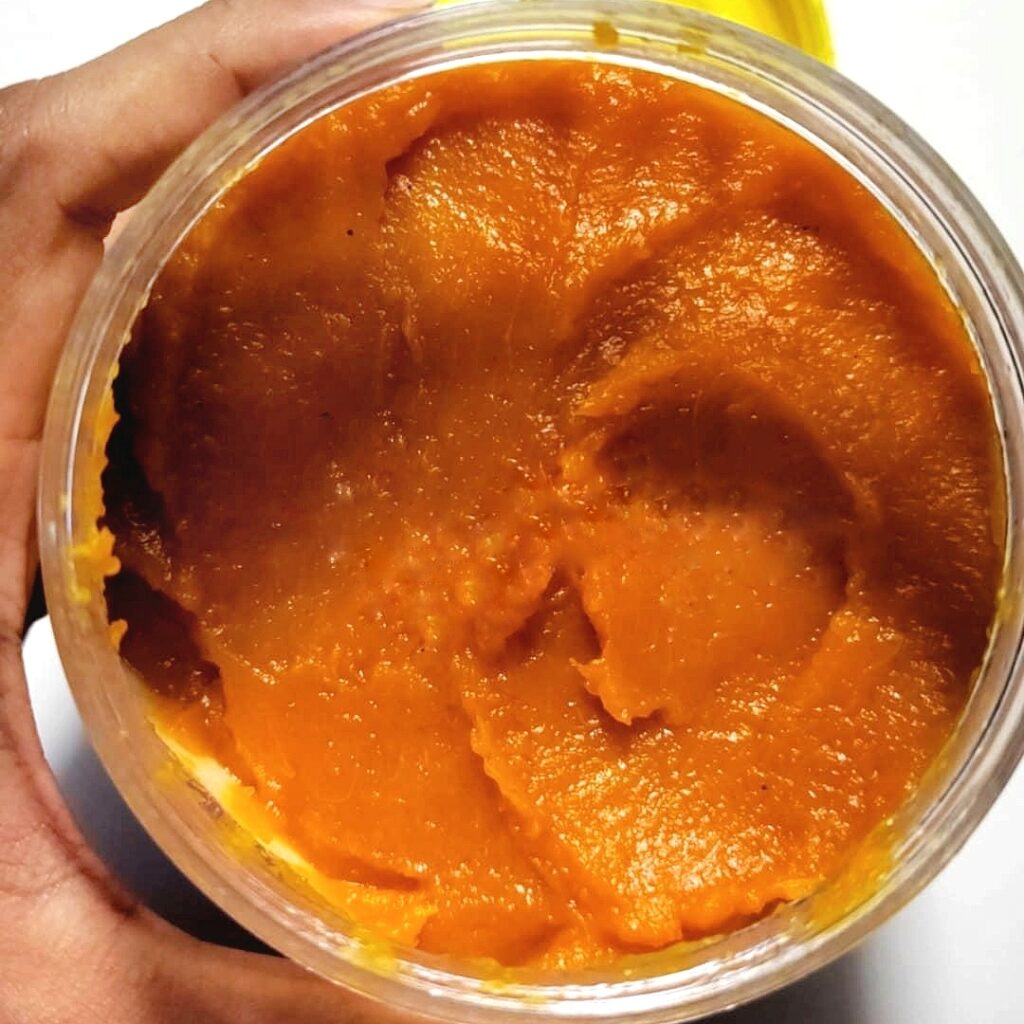
If you’ve ever wondered how to make pumpkin puree at home, you’re in the right place. With just a few simple steps, you’ll have creamy, golden puree that’s versatile, delicious, and ready to star in your favorite recipes.
So, grab a pumpkin (or two), preheat your oven, and let’s get started!
What You’ll Need to Make Homemade Pumpkin Puree
Before diving in, let’s make sure you have everything ready. Making pumpkin puree is as simple as it gets, and the tools are likely already in your kitchen.
Ingredients:
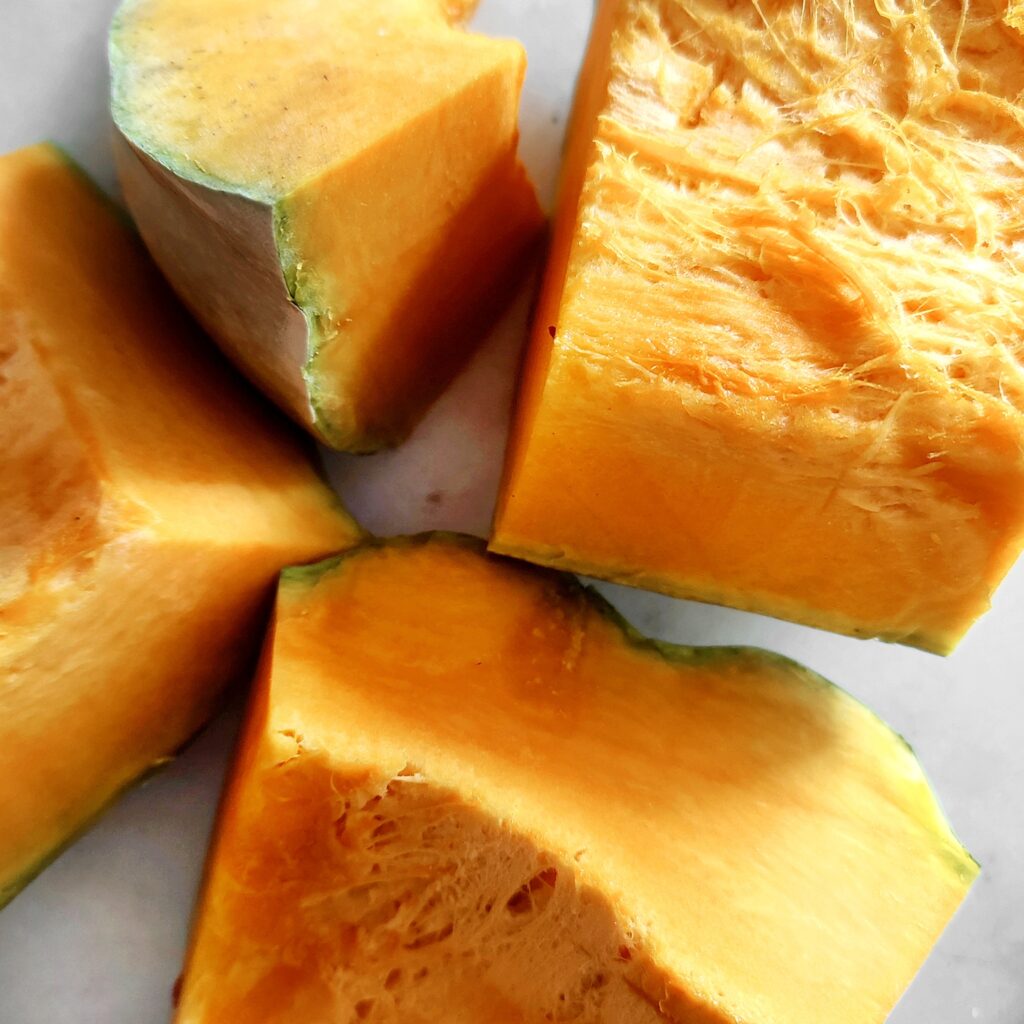
- Pumpkin: A small sugar pumpkin (also called a pie or baking pumpkin) is ideal for this recipe. Avoid using carving pumpkins, as their texture and flavor aren’t suited for puree.
Tools:
- Sharp Knife: For cutting the pumpkin in half.
- Spoon: To scoop out seeds and stringy bits.
- Baking Tray: If you’re roasting the pumpkin.
- Parchment Paper: To line your baking tray and make cleanup easier.
- Blender or Food Processor: For blending the cooked pumpkin into a smooth puree.
- Fine-Mesh Sieve or Cheesecloth (optional): To strain excess liquid for a thicker puree.
Step-by-Step Guide to Homemade Pumpkin Puree
Making pumpkin puree is easier than you think. Here’s a step-by-step guide to help you create the smoothest, most flavorful puree at home:
Step 1: Choose the Right Pumpkin
Not all pumpkins are created equal! For the best results, go for sugar pumpkins or pie pumpkins. These varieties are smaller, sweeter, and less fibrous compared to carving pumpkins, making them perfect for puree.
Step 2: Prepping the Pumpkin
- Wash and Dry: Rinse your pumpkin under cool water to remove dirt, then dry it with a towel.
- Cut in Half: Use a sharp knife to carefully cut the pumpkin in half, starting at the stem and slicing downward.
- Scoop Out the Seeds: Use a spoon to remove the seeds and stringy bits. Save the seeds for roasting—they’re a delicious snack!
Step 3: Cooking the Pumpkin
There are a few ways to cook your pumpkin, depending on your preference:
1. Roasting (Recommended)
- Preheat your oven to 180°C (350°F).
- Place the pumpkin halves cut-side down on a baking tray lined with parchment paper.
- Roast for 45–60 minutes, or until the pumpkin flesh is fork-tender.
You can also cut your pumpkin up into smaller pieces, wrap the pieces in tinfoil and bake.
2. Steaming
- Cut the pumpkin into smaller chunks.
- Place in a steaming basket over boiling water and steam for 20–30 minutes until tender.
3. Boiling
- Cut the pumpkin into chunks and boil in a large pot of water for 15–20 minutes. Drain well to avoid watery puree.
Step 4: Make the Puree
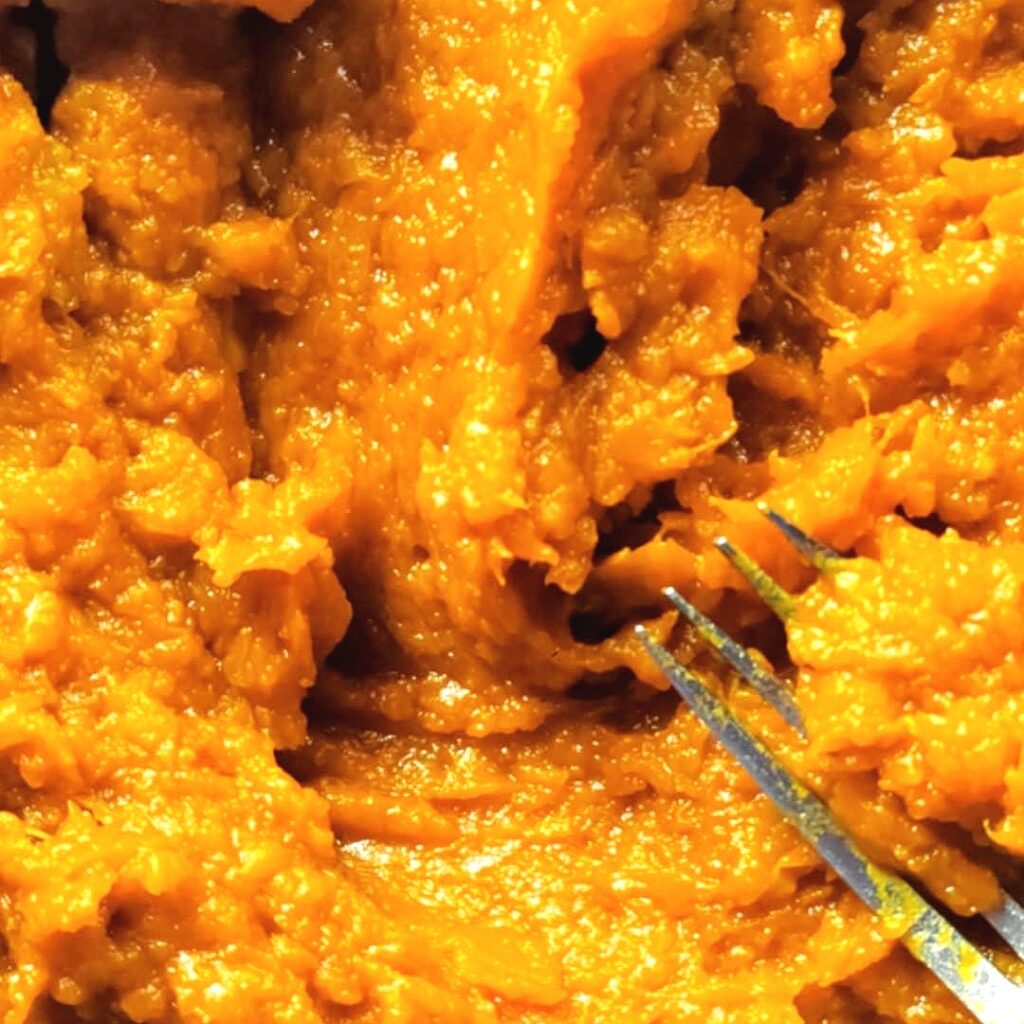
- Scoop Out the Flesh: Once the pumpkin is cool enough to handle, scoop the flesh from the skin using a spoon.
- Blend Until Smooth: Add the cooked pumpkin to a blender or food processor and blend until silky smooth. If it’s too thick, add a tablespoon of water at a time to reach your desired consistency.
- Optional: Strain: For a thicker puree, pass it through a fine-mesh sieve or cheesecloth to remove any excess liquid.
Delicious Ways to Use Homemade Pumpkin Puree
Once you’ve made your fresh pumpkin puree, the possibilities are endless! Here are some of my favorite recipes to showcase this versatile ingredient, with links to guide you step-by-step:
Pumpkin Chocolate Loaf
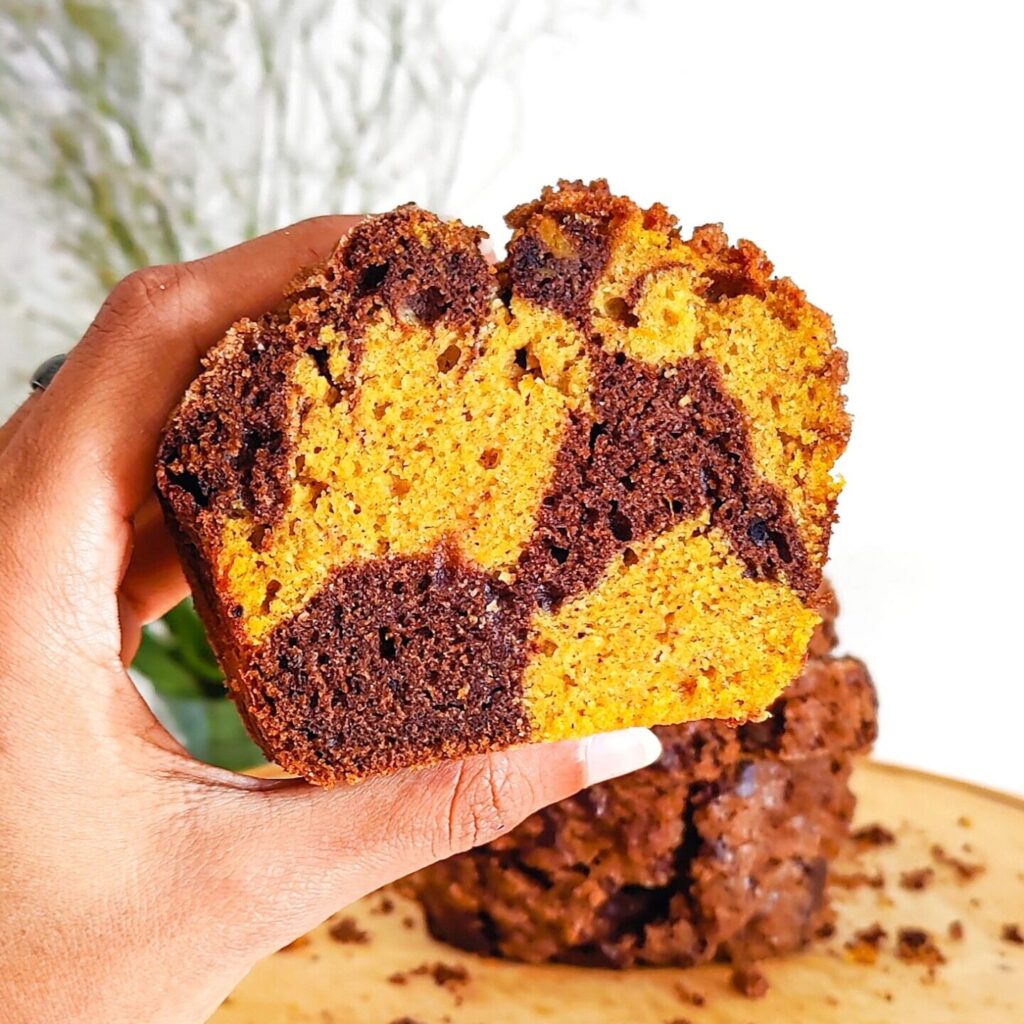
This super fluffy, moist, and tender loaf combines the flavors of chocolate and pumpkin for a delectable winter treat. GET THE RECIPE!
Pumpkin Muffins w/ Oat Streusel Topping
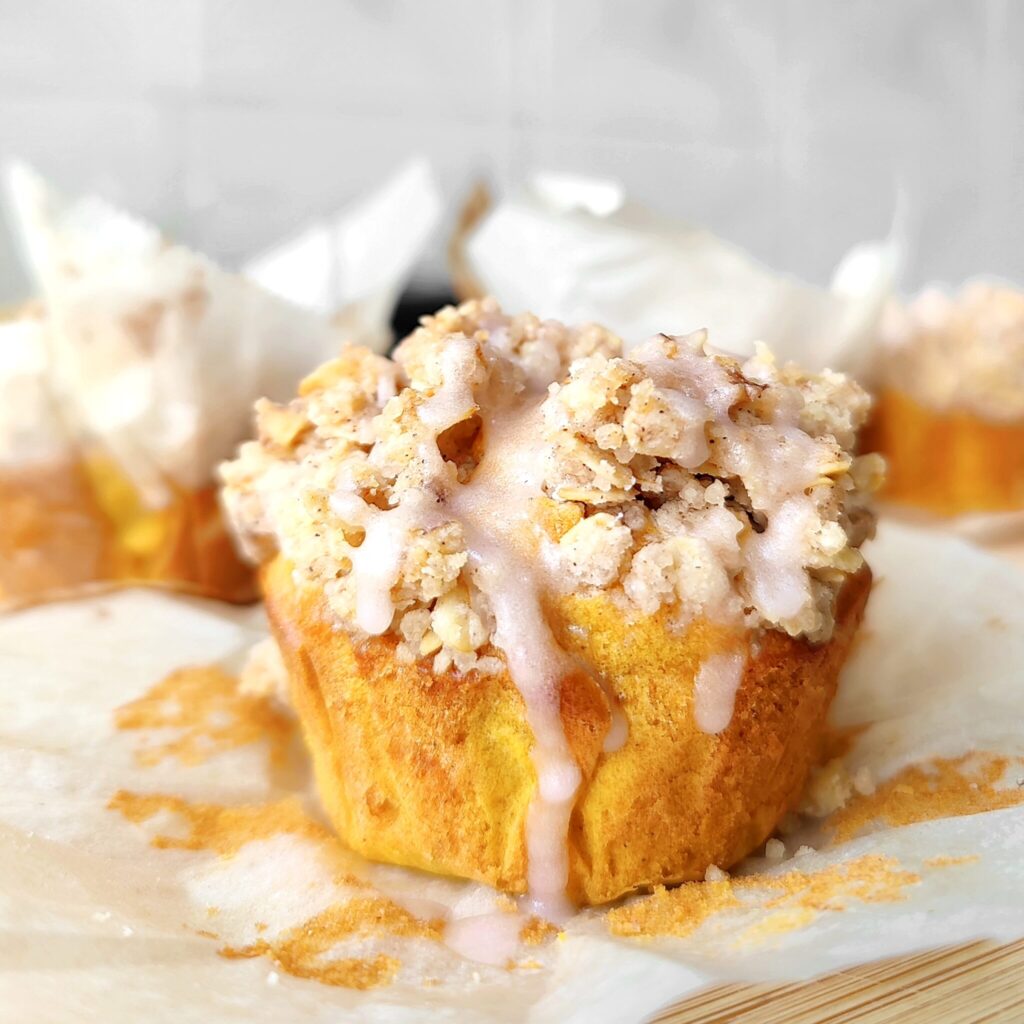
The utter delight of biting into these pumpkin muffins will leave you wanting more and more. Believe me, you won’t be able to stop yourself after just one. The best part has to be the crunchy nutty streusel topping that accompanies every bite. GET THE RECIPE!
Pumpkin Bread Pudding
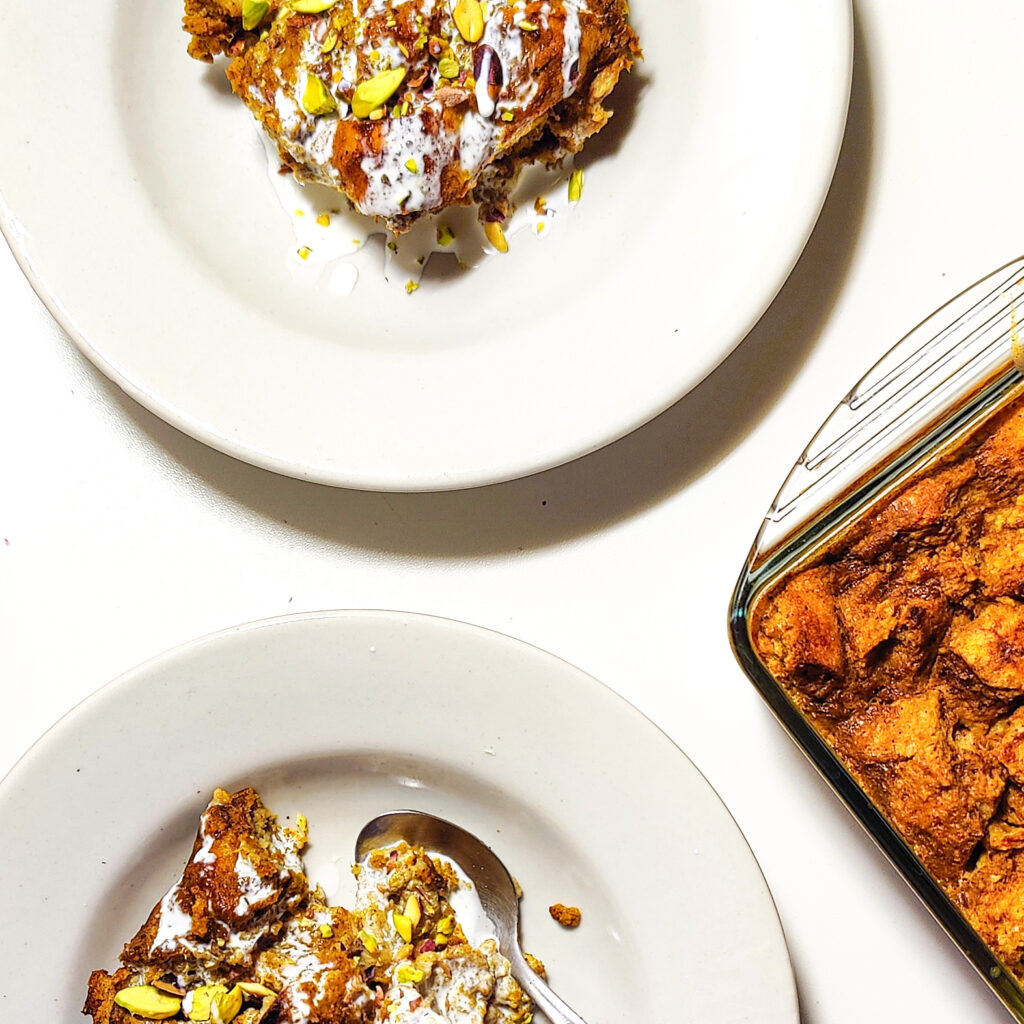
A warm custardy and deliciously comforting bread pudding recipe using homemade pumpkin puree – this pumpkin bread pudding will quickly make it into your top bread pudding recipes. GET THE RECIPE!
How to Store Homemade Pumpkin Puree
Once you’ve whipped up your fresh pumpkin puree, you’ll want to store it properly to keep it fresh and ready for your next recipe. The good news? It’s super easy to store, whether you’re using it in a day or saving it for months.
1. In the Refrigerator
If you plan to use your pumpkin puree within a few days, the fridge is your best bet.
- How to Store: Transfer the puree to an airtight container or resealable bag.
- Shelf Life: Fresh pumpkin puree will stay good for up to 4 days in the fridge.
- Pro Tip: Label the container with the date you made the puree so you don’t forget how long it’s been sitting there.
2. In the Freezer
Got more pumpkin puree than you can use right away? Freeze it for future baking or cooking adventures!
- How to Freeze:
- Portion the puree into smaller amounts (e.g., 1/2 cup or 1 cup) for easy use in recipes.
- Use freezer-safe bags or containers, and press out as much air as possible to prevent freezer burn.
- Flatten the bags for stackable storage and faster thawing.
- Shelf Life: Frozen pumpkin puree can last up to 3 months.
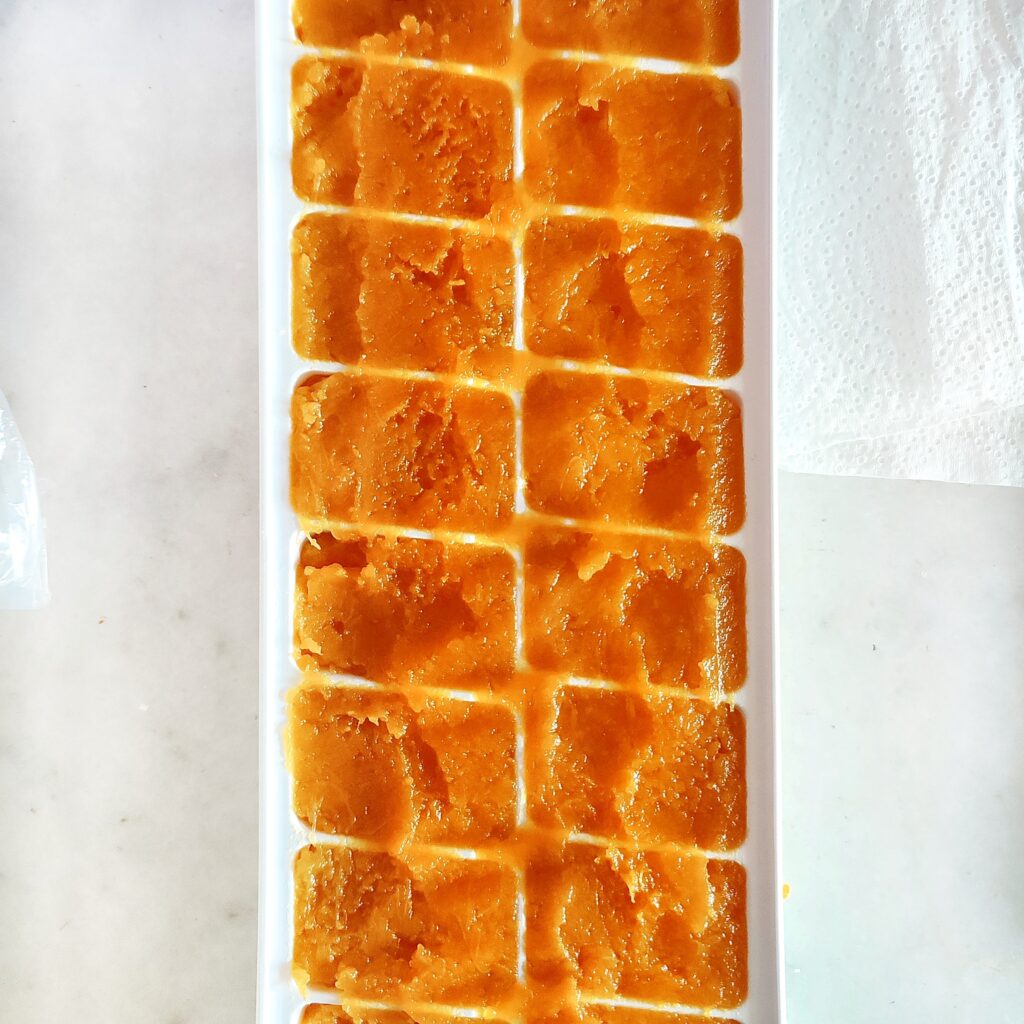
- Pro Tip: Use an ice cube tray to freeze small portions—perfect for lattes or smoothies. Once frozen, transfer the cubes to a freezer bag.
3. How to Thaw Frozen Pumpkin Puree
When you’re ready to use your frozen pumpkin puree:
- Refrigerator Method: Transfer the portion you need to the fridge and let it thaw overnight.
- Quick Thaw: Place the frozen puree in a sealed bag and submerge it in warm water until softened.
- Use Directly in Cooking: If you’re making soups or curries, frozen puree can often be added straight into the pot without thawing.
Storing your homemade pumpkin puree ensures that you always have some on hand, whether you’re making a quick pumpkin smoothie or prepping for a holiday pie.
Homemade pumpkin puree is one of those simple kitchen hacks that makes a world of difference in your cooking and baking. It’s fresher, more flavorful, and completely free of preservatives—plus, you get the added satisfaction of making it yourself.
Whether you’re whipping up a classic pumpkin pie, blending it into a creamy soup, or stirring it into your morning pancakes, this puree is as versatile as it is delicious. And with easy storage options, you can have pumpkin puree ready to go whenever inspiration strikes.
